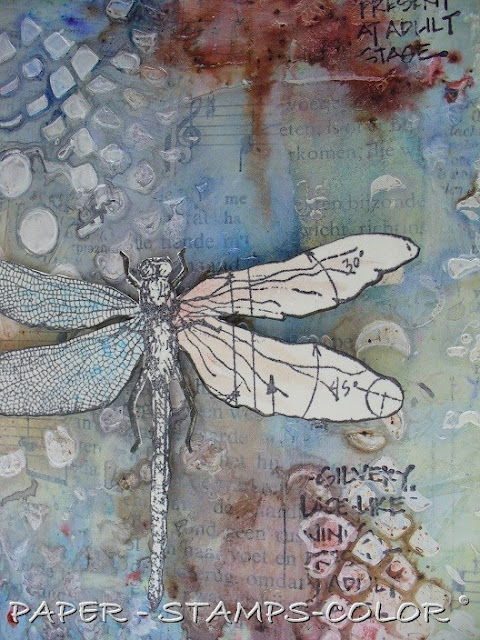
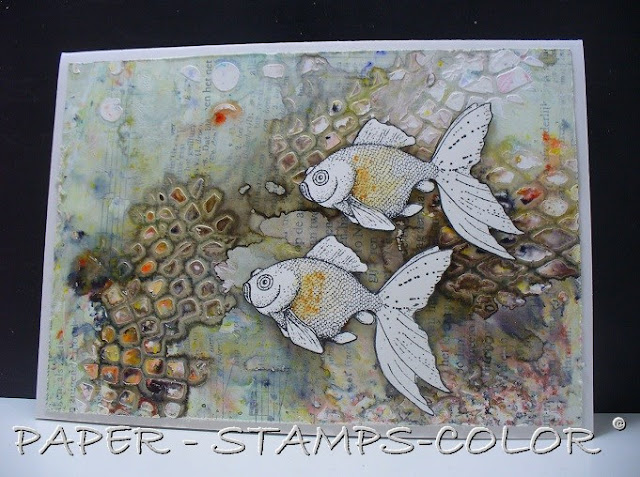
A tutorial for you today - a big background to be cut up in several pieces - 7 to be precise (5 cards, 2 ATC's )
****
Start on a larger piece of paper (I used a piece slightly bigger than A4), and adhere some book paper randomly onto the page.
Scribble some color onto it with watercolor crayons.
Paint over it with watered-down gesso to blend the colors. Start with one color, clean the brush and start on another color - otherwise some of it will turn into mud!
At this stage I decided to take most of the color off with a damb cloth, and scraped gesso over the background with an old creditcard. (This is called trial and error, lol).
Now add some white structure paste randomly over several stencils... I chose background ones.
Cut the background into several useful pieces.
****
Tap some Brusho powder onto the card background, spray with water and leave to dry. Repeat this with a second color (the red is Bistre).
Add some stamping and a stamped image.
****
You can still see the original background color in places.
This post as
The Crafter’s Workshop Design Team Member
****
STENCILS USED:
Of course The Crafter’s Workshop provided me with some product to create this project, as I am in their design team.
LOVE these stencils!
TCW502 Impressions 12x12
TCW586 Raven Mosaic 12x12
The Crafter’s Workshop Design Team Member
****
STENCILS USED:
Of course The Crafter’s Workshop provided me with some product to create this project, as I am in their design team.
LOVE these stencils!
TCW502 Impressions 12x12
TCW586 Raven Mosaic 12x12


Beautiful cards Ellie!
ReplyDeleteFabulous and a great step by step! Love the effect of the brushos over the texture and gesso!
ReplyDeleteBeautiful! Thanks for sharing your process!
ReplyDeleteZiet er prachtig uit, dank voor de stap voor stap uitleg.
ReplyDeleteFabulous tutorial and a wonderful outcome for both of your cards! Thank you for sharing your process!
ReplyDeleteZiet er weer heel mooi uit, zoals gewoonlijk. Toch maar eens wat gesso en pasta aanschaffen? ;-)
ReplyDeleteLoving this Ellie... both cards are gorgeous!
ReplyDeleteThanks for the tutorial, it's always really enjoyable and useful to know the process.
Have a nice day, big hugs
Coco xx
Wonderful work, thanks so much for explaining so well,enthralling and inspiring !!
ReplyDeleteShaz in Oz.x
Gorgeous, gorgeous, gorgeous! Love them!
ReplyDeleteLove the tutorial!
ReplyDelete