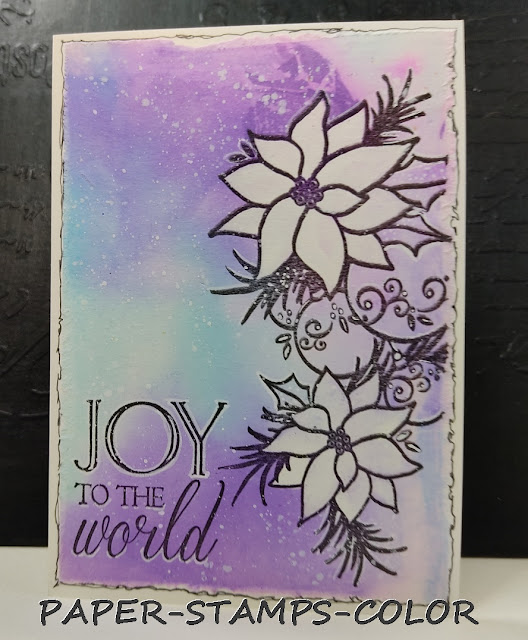
Did you ever think of water coloring a stamped image by just using the stamp as the sketch?
It's a lazy way of watercoloring lol.
Here's the very easy How-To:
1. Stamp the flower from stamp set Sketchy Flowers #1 with a shadow ink onto watercolor paper. Stamp it on a piece of paper also with a darker ink to be a guide during the water coloring process, as some stamped lines might become a little invisible when adding darker colors.

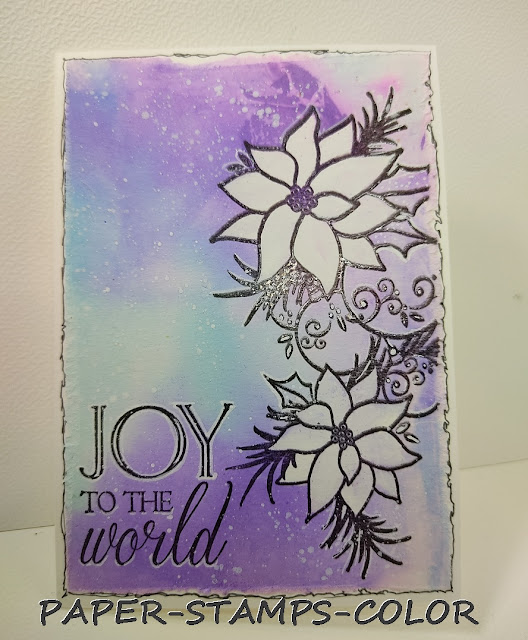
2. Basically fill in with color one petal or leaf at a time, by wetting it a little with water with one brush and paint with another brush to add a base layer of color. Let the water do the work for you.
Leave to dry.

3. Add a layer of a warm yellow over the first layer of paint; this is called glazing. Make sure the yellow is not an opaque color.
It will make the colors richer; blends all the colors a bit together too.
Leave to dry.
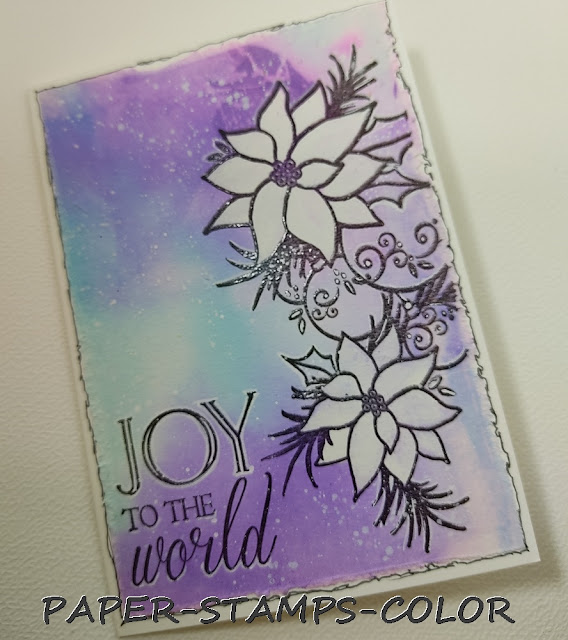
4. Add depth to the images by adding a darker color of watercolor, or use an easy way as I did here: fill in the lines as you like them best with a brown fine tip marker.
Add a few white accents here and there with a white acrylic marker.
5. Cut a mask for the image, and put in top of the stamped/watercolored image.
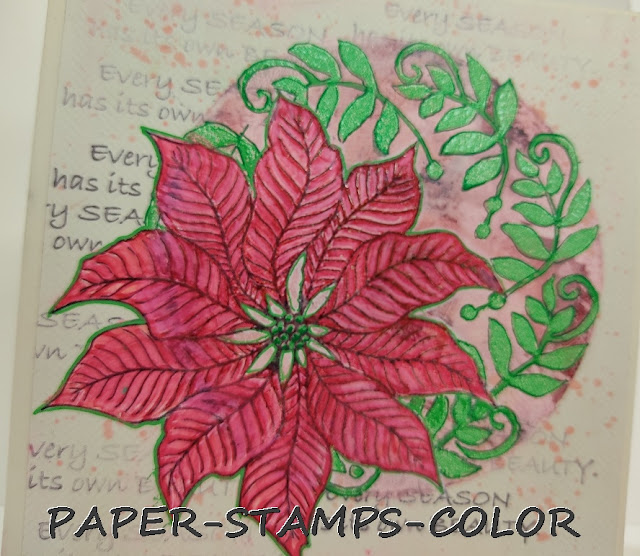
Ink the numbers from the Pick A Number stamp set with an orange ink, stamp it to a separate piece of paper first, then stamp it onto the background of the watercolored image; it's called second generation stamping.

6. Before removing the mask, stamp the Old Book Page script in a brown to the background too, as shown.
7. Assemble it to a card base, draw a scribbly line around the edge and it's done.
You might choose to frame it of course.
I hope you will give this technique a try. It's easy right?
It's best to use an image with a lot of white space.
See you next time!
Rubber Dance Stamps: