
A wintery card from me this time!
Do you see the bling on the berries?
Magenta products used:

02.315.P

Christmas Song [07.1065.N]

Christmas Song [07.1065.N]
I started in a new journal and hope to fill it with a lot of pleasure, no time limit, no pressure.
Using up some of my collage fodder in the process is a plus +
It's called "Remembrance... Always.... forever!"

Magenta products used:


For me art journaling is playing with product without any rules.
I started in a new journal and hope to fill it with a lot of pleasure, no time limit, no pressure.
Using up some of my collage fodder in the process is a plus +
It's called "Art of nature"

Nature in itself has a lot of color, structure, scents and our senses can pick that up. The beauty of it will never seize to make me full of joy as to what our Creator made for us to enjoy and treasure.

For me art journaling is playing with product without any rules.
I started in a new journal and hope to fill it with a lot of pleasure, no time limit, no pressure.
Using up some of my collage fodder in the process is a plus +
It's called "UITZICHT" dutch for prospect, meaning for me as in view of the future; basis of this being the eternal life in Jesus Christ.

The background is playful with a lot of layering of colors and textures, scraping in wet structure paste etc.
The flowers are fussy cut watercolors I did a while ago (I have a whole fodder book full of them, in every color of the rainbow... )
For me art journaling is playing with product without any rules.
I started in a new journal and hope to fill it with a lot of pleasure, no time limit, no pressure.
Using up some of my collage fodder in the process is a plus +
It's called "Natuur" dutch for Nature....

This page depicts my love for nature, created by our Father in Heaven so beautifully. The pictures are from a book I purchased from a thrift store called Flowering Plants Of the World by V.H. Heywood.
I bought a second book one of this book (this time a dutch version) also from a thrift store, and chose the lesser one for ripping pages out, which turned out to be the english version. When I had only one copy, I could just not start on ripping pages out, lol.
It has a ton of beautiful illustrations!! Grab a copy if you can find one, if you collage fodder to be used in creating. I paid 8 euro for the english version, and only 1 euro for the dutch one. There are several copies online varying from around 10 euro to prices I would never pay for second-hand book.
Coring the background has been done with Twinkling H2o watercolors.


It's quite windy here at the moment, and also not that cold.
The leaves are everywhere; that's what inspired this page.. the leaves are swirling down in the wind, with a bird looking at it.
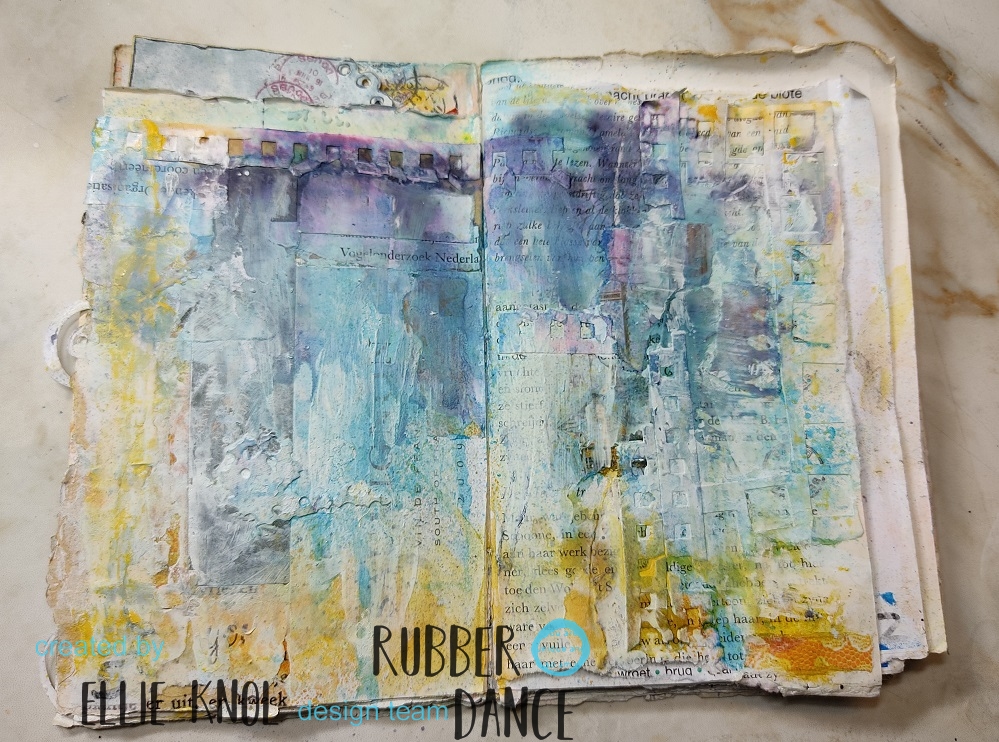
The page started as a background as a first only, just playing in my junk journal, following a challenge online.
I will gradually take you through the steps.
Adhere pieces of papers in the colors you choose, for me it was a moody blue, copper and yellow; and of course white. The blue alcohol ink in the color denim changes to a purplish and pinkish blue. Mix while wet with other sprays and white gesso until you are happy with the background.

Now for the composition.
I have a whole bunch of stamped images stamped with different colors of inks like black, brown, purple and plum. Whenever I have a moment I fussy cut these images and use them on cards, journal pages etc.

The above images I chose are stamped with a purple ink: it matches the purple at the top of the page.

I lay the chosen fussy cut images onto the page and take a picture of it, so when I want to adhere them to the page at a later stage, I know what I want it to look like. I will work on the background more first. The bird needs a base!

Tear a piece of paper to create a space on the background.
I plan to heat emboss white in this area, and sponge extra color within it to create the base for the bird.

Stamp mixed media script or numbers with Versamark ink, heat emboss in white and sponge with a yellow distress ink within the area.
Spray with water so the area is not defined that much anymore.

I stamped a few foliage doodle plants onto the background.
Adhere the images to the page with 3D tape.

Adding the 3D tape emphasises the feel of the leaves swirling to the ground.
I also stamped a script in the background to add interest and added touches of color to the images with colored pencils.
A quote on an art journal page adds a meaning tho the page; I did that by using words from the Mix A Sentiments stamp sets.
I was quite happy with how it turned out; of course I hope you got inspired to create.
Please share it with us in the FB group and have a chance at winning some product from the shop as we have an ongoing challenge with an extra moodboard if you like to use it. It is basically an anything goes challenge though, you do not have to use the colors of the moodboard.
Come join in the fun and be inspired by our lovely design team!
I used stamps from the Rubber Dance collection.
The links are included in the post on the Rubber Dance blog.


This is such an easy way to create multiple backgrounds in one go.
Hope you like it and got inspired.
Please share in our FB group; there's a chance to win a prize from the shop!


